Introduction
I’ve finally managed to get a Raspberry Pi. I’ve already thought a long time of buying one, but because of missing ideas what to do with it I didn’t buy one. A school project came by which served the perfect reason to finally buy one (hint: self made monitoring camera) and now I’m lucky to have one.
Mopidy and stuff
So what is running on my RPI now? Currently there is a raspian installed and except the whole music-server-software nothing special. I run mopidy with mopidy-spotify, mopidy-spotify-tunigo and mopidy-mopify.
So what are all these things? Mopidy is a mpd server which simply stands for music player daemon. On there website is written:
Mopidy is an extensible music server written in Python.
And thats it, no more no less. Without anything else mopidy can play music from your disk. Mopidy-spotify is the bridge between mopidy and spotify which enables you to play all kind of things from spotify. You can play and manage your play lists, favourite artists, songs, albums and search for all these things. Mopidy-spotify-tunigo is to enable the browse feature of spotify, like genres, browse featured play lists or new releases. Mopidy-mopify is just a web front end to interact with mopidy in the style of spotify. This way I can control mopidy via a browser from every device on my network. There are tons of other web front ends out there for mopidy you can have a look here. It is also possible to connect via a CLI-client. I often just use ncmpcpp which is a very wide used terminal music player. Ncmpcpp simply stands for ncurses music player written in C++. There is also ncmpc which is not so feature rich.
Hands on
So what do we have to do to get this all to work?
Surprisingly not much. I’ve installed it two times - because the first time I’ve fucked up - and the second time took me only one hour, including the installation of the operating system.
I assume that raspian is already set up correctly.
What we have to do to install mopidy:
# add the gpg key of the archive

wget -q -O - https://apt.mopidy.com/mopidy.gpg | sudo apt-key add -

# add the repository to your package sources

sudo wget -q -O /etc/apt/sources.list.d/mopidy.list https://apt.mopidy.com/jessie.list

# update your package sources

sudo apt-get update

# install mopidy

sudo apt-get install mopidy
Now we should set some configuration on /etc/mopidy/mopidy.conf.
There should be a default configuration file already in place.
Either add oder adjust these lines under http like this:
[http]
enabled = true
hostname = 0.0.0.0
port = 6680This tells mopidy to enable the http extension. 0.0.0.0 tells mopidy to accept connections from every hostname/ip and the port is self describing.
Now we need the local ip address of the Raspberry Pi.
To get it simply type ifconfig in your terminal on your Raspberry Pi.
The output should be something like this:
 1eth0: flags=4163<UP,BROADCAST,RUNNING,MULTICAST> mtu 1500
 2inet 192.168.2.115 netmask 255.255.255.0 broadcast 192.168.2.255
 3inet6 fe80::e1f5:a318:5a1:faae prefixlen 64 scopeid 0x20<link>
 4ether b8:27:eb:f5:35:39 txqueuelen 1000 (Ethernet)
 5RX packets 122946 bytes 108989790 (103.9 MiB)
 6RX errors 0 dropped 6 overruns 0 frame 0
 7TX packets 69604 bytes 45306826 (43.2 MiB)
 8TX errors 0 dropped 0 overruns 0 carrier 0 collisions 0
 9
10lo: flags=73<UP,LOOPBACK,RUNNING> mtu 65536
11inet 127.0.0.1 netmask 255.0.0.0
12inet6 ::1 prefixlen 128 scopeid 0x10<host>
13loop txqueuelen 1 (Local Loopback)
14RX packets 101 bytes 10202 (9.9 KiB)
15RX errors 0 dropped 0 overruns 0 frame 0
16TX packets 101 bytes 10202 (9.9 KiB)
17TX errors 0 dropped 0 overruns 0 carrier 0 collisions 0
18
19wlan0: flags=4163<UP,BROADCAST,RUNNING,MULTICAST> mtu 1500
20inet 192.168.2.112 netmask 255.255.255.0 broadcast 192.168.2.255
21inet6 fe80::8e77:ec92:7756:4074 prefixlen 64 scopeid 0x20<link>
22ether b8:27:eb:a0:60:6c txqueuelen 1000 (Ethernet)
23RX packets 9013 bytes 724165 (707.1 KiB)
24RX errors 0 dropped 0 overruns 0 frame 0
25TX packets 1539 bytes 133713 (130.5 KiB)
26TX errors 0 dropped 0 overruns 0 carrier 0 collisions 0In line two, after inet, you see it’s ip. If you connect via wireless lan it would be in line 29.
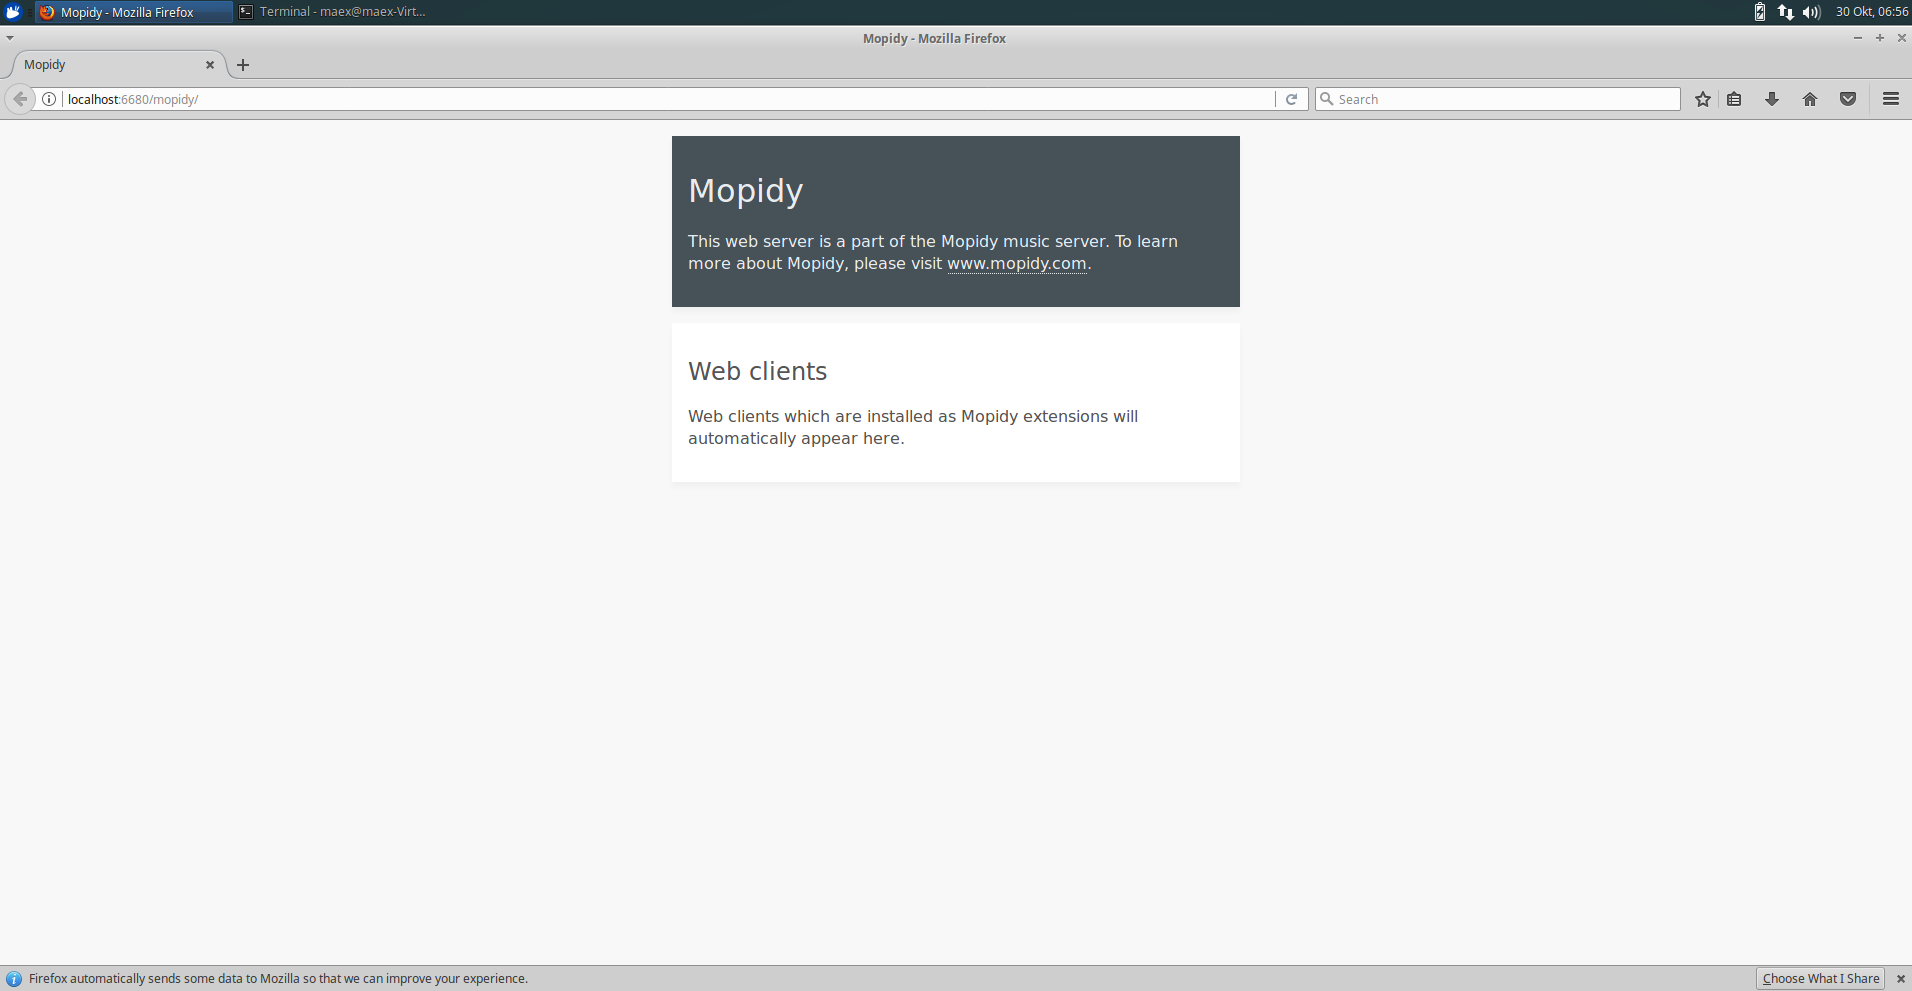
If you now type sudo service mopidy start into your terminal and head to 192.168.2.115:6680 in this case. I will use this ip address in the rest of this article.
Just exchange it for you ip.
You should already be able to see this:
At next we want to install mopidy-spotify
sudo apt-get install mopidy-spotifyWe need to adjust our mopdiy configuration again. Just add these lines at the end ofthe file.
[spotify]
enabled = true
username = <your spotify username>
password = <your spotify password>
client_id = <your client id>
client_secret = <your client secret>The client id and secret is easily obtainable via this link. Click on login with spotify and after you logged in the data appears in the text field. If you want to configure more like the amount of search results for example have look at the readme of the mopidy-spotify.
Now we want to install spotify-tunigo:
sudo apt-get install mopidy-spotify-tunigoThe configuration is rather simple:
[spotify_tunigo]
enabled = trueNow all we need is mopify:
We need pip for that - the python package manager- but fortunately raspian has it already installed.
sudo pip install Mopidy-MopifyIf it’s not already installed on your system you can install it on an ubuntu like system with:
sudo apt-get install python-pipAgain a really simple configuration:
[mopify]
enabled = true
debug = falseAnd everything should be set up correctly.
Now restart mopidy as a service: sudo service mopidy restart.
Open your browser again at 192.168.2.115:6680/mopidy.
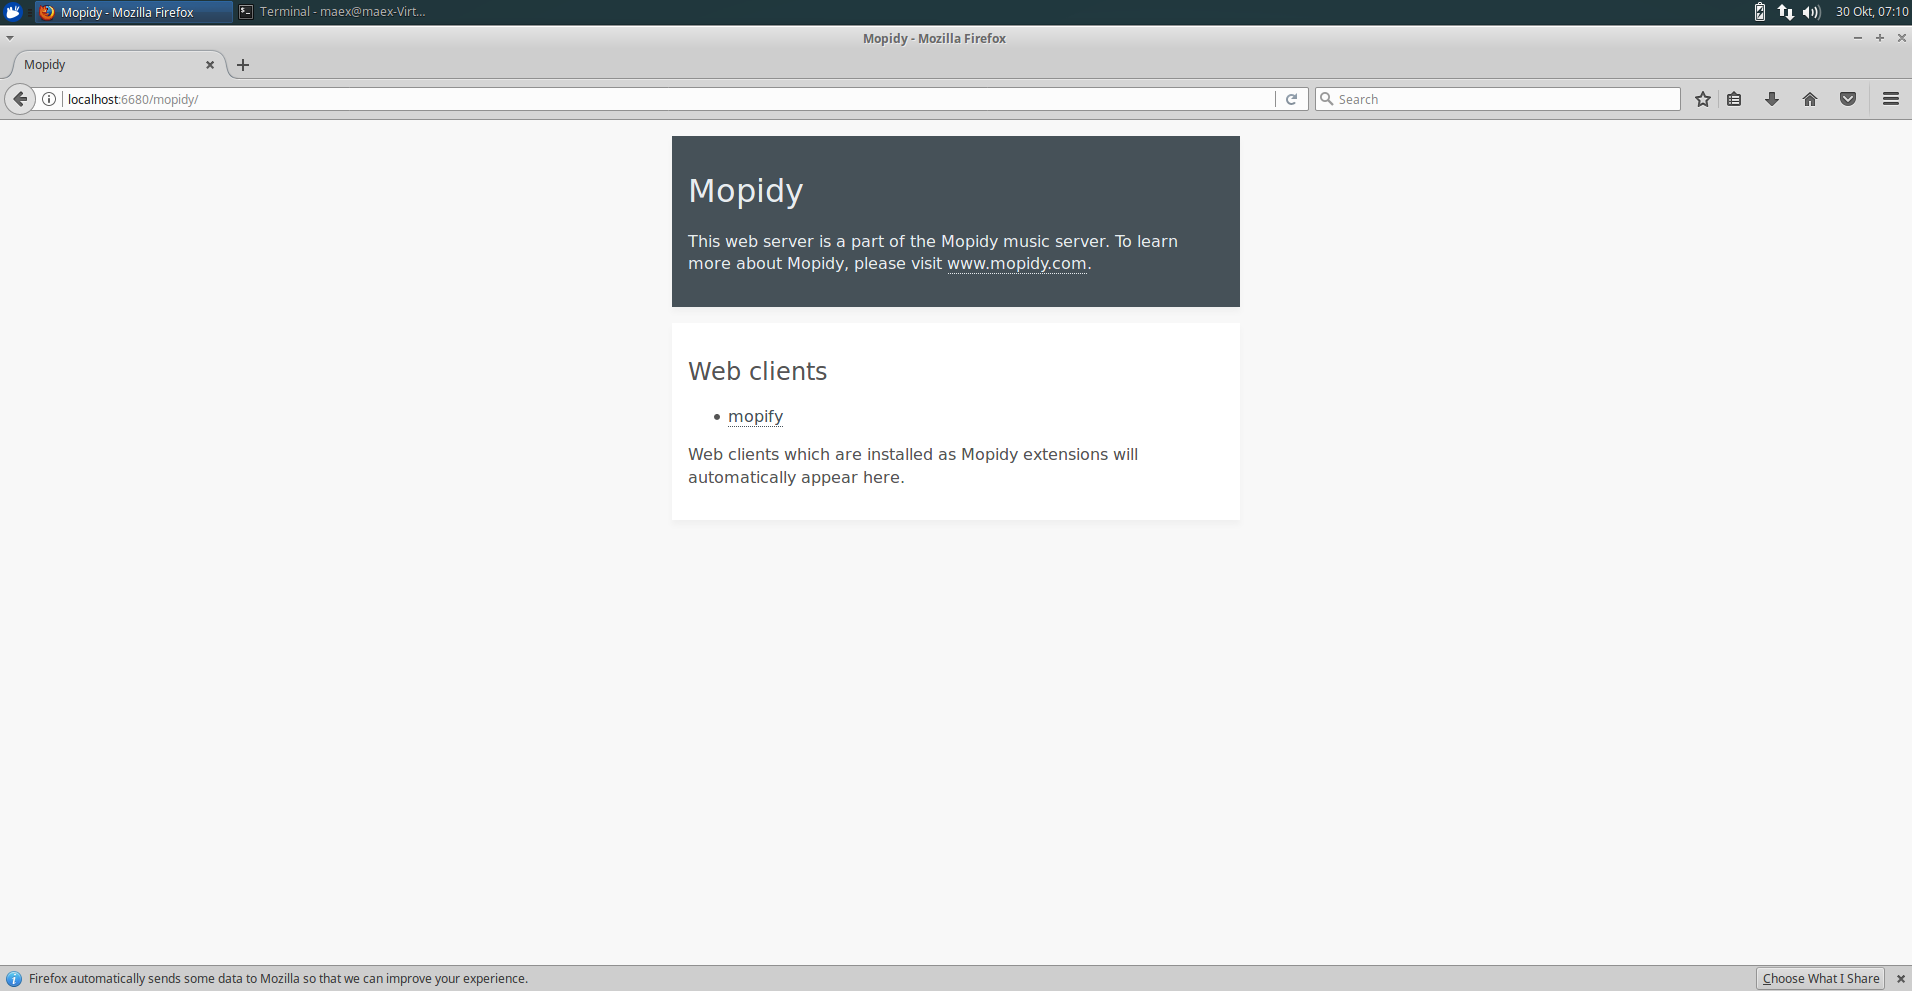
We can see that mopify is set up correctly. Click on it and see:
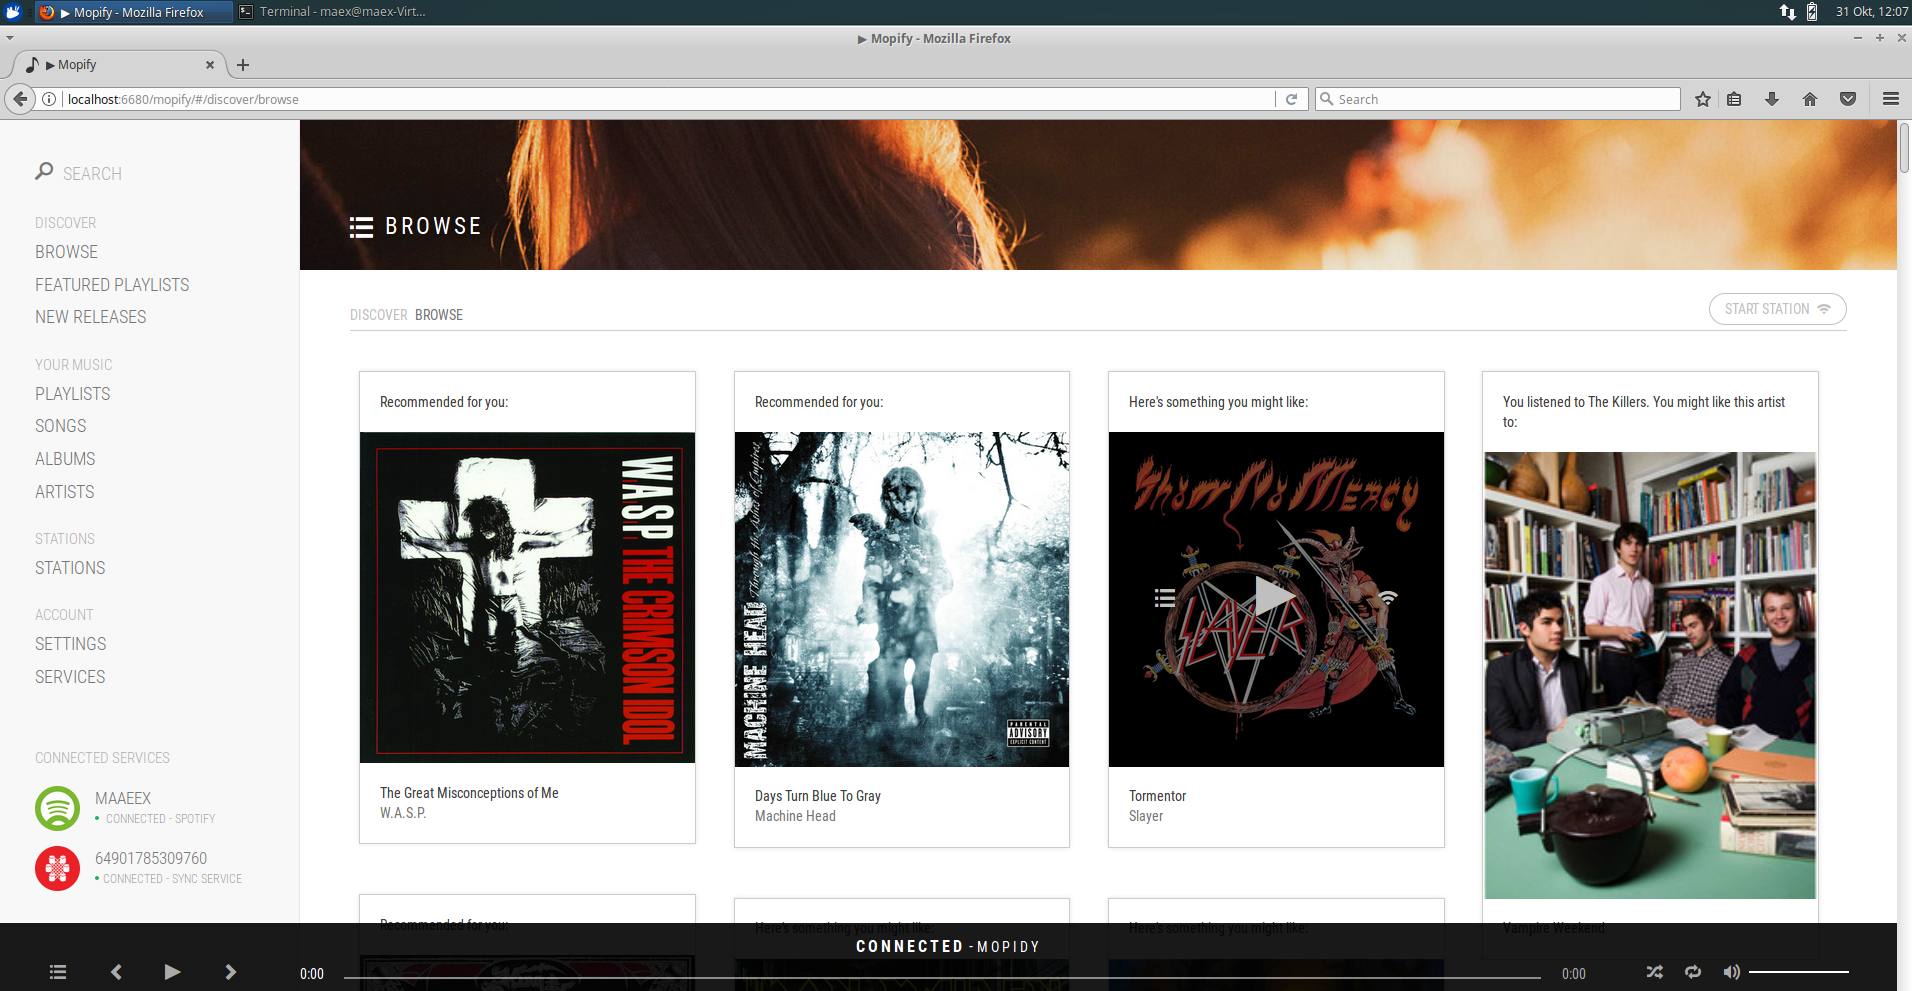
Go to services in the navigation and enable the sync service by simply clicking on it.
When you hover over it you can go to settings and enable synchronization of your spotify credentials as well.
Next enable the spotify service, maybe you have to log in again.
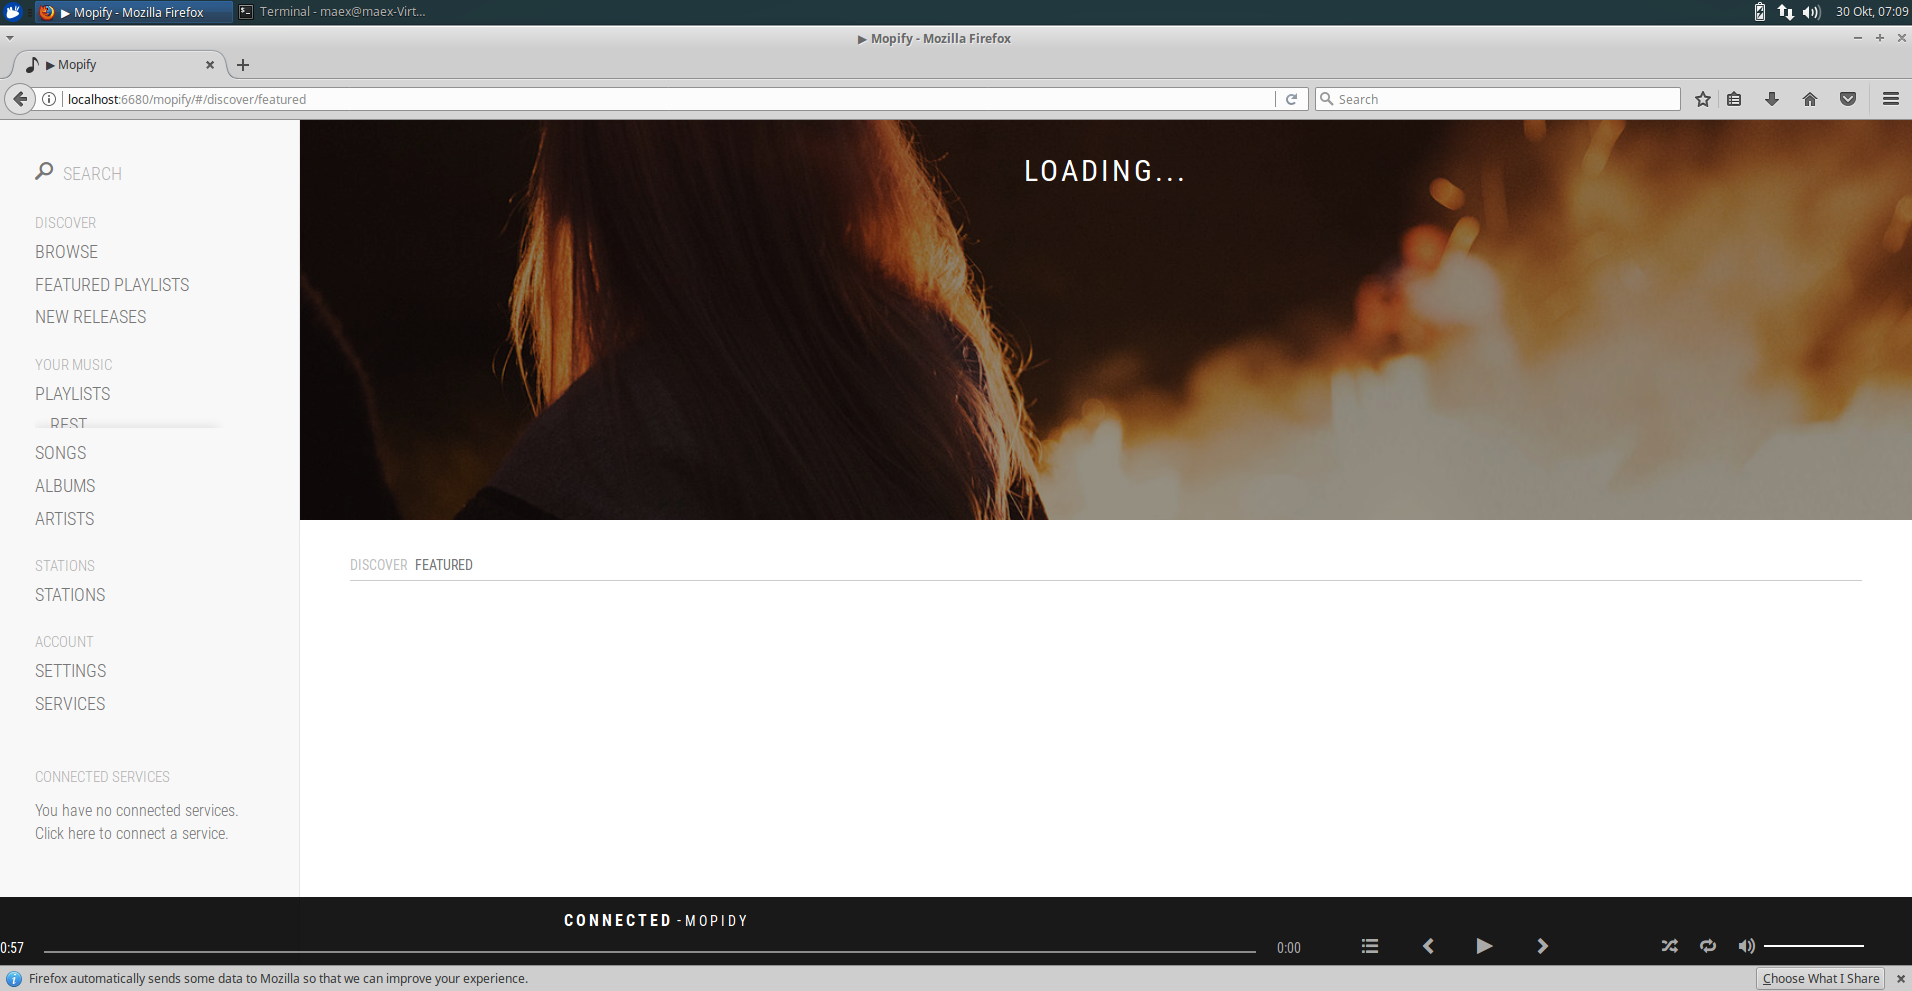
And that’s it. If you now go to 192.168.2.115:668/mopify you should see some cool stuff like this:
If you didn’t see the welcome screen to load playlists and in the bottom left corner that spotify is disconnected you just need to reload if your sync settings are set up correctly
If you want to connect via ncmpcpp to your Raspberry Pi you just need to run: ncmpcpp --host 192.168.2.115 --port 6680 or set some config values for ncmpcpp.
Now to test your sound simply put speakers or headphones in the 3.5mm audio output.
Then type: aplay /usr/share/alsa/speaker-test/sample_map.csv If you can hear something everything is fine,
if not try to run sudo raspi-config go to advanced options, audio and force the output through the headphone jack.
If this is working your should be able to simply play sound through mopify. :)
Control
You can control this little thing with a browser. Even with a mobile phone it is quite good usable. But of course there are other methods too.
You can install mpc on your Raspberry Pi with sudo apt-get install mpc
And make a key binding - depending on your desktop environment / window manager - to run ssh pi 'mpc next|prev|toggle|play|pause'.
I have three scripts for toggle, next and prev which are triggering different players/tools regarding what is currently running. You can see them here:
You could set up a reverse proxy to only need to enter a specific URL without ip:port or add this ip to your /etc/hosts file with a hostname and only need to write hostname:ip.
But that’s up to you.
Resources
This whole setup doesn’t need much system resources.
This is a screenshot of htop while playing music, so not even in idle mode.
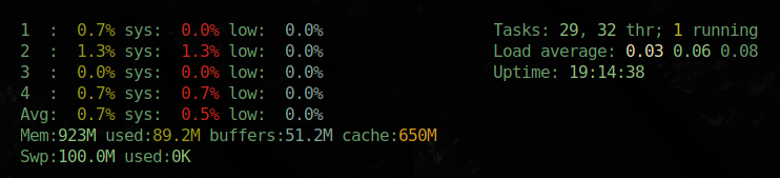
I’ve never noticed the ram usage to be more than 115MB and processor usage and load average were always not noticeable. So if you are running anything else on your Raspberry Pi and are in doubt that will it use to much performance I think this is not the case.
Automation
To not need to update manually I simply added a little cronjob which runs updates every night at 1 AM, pauses music if playing and restarts the mopidy server.
0 1 \* \* _ apt-get update && apt-get upgrade -y && apt-get dist-upgrade -y && apt-get autoremove && apt-get autoclean
0 1 _ \* \* mpc pause && service mopidy restart
Drawbacks
Of course there are some drawbacks everywhere and this is no exception.
The most important drawback is that you can’t play playlists.
You can play artists, tracks, added tracks from your library(which would be one playlist), radio stations but simply no fucking playlists.
This is an issue in libspotify currently as far as I know and not an issue with mopidy or mopify.
Before I had playlists for artists and some mixed ones. Now I simply follow the artists and play them from there.
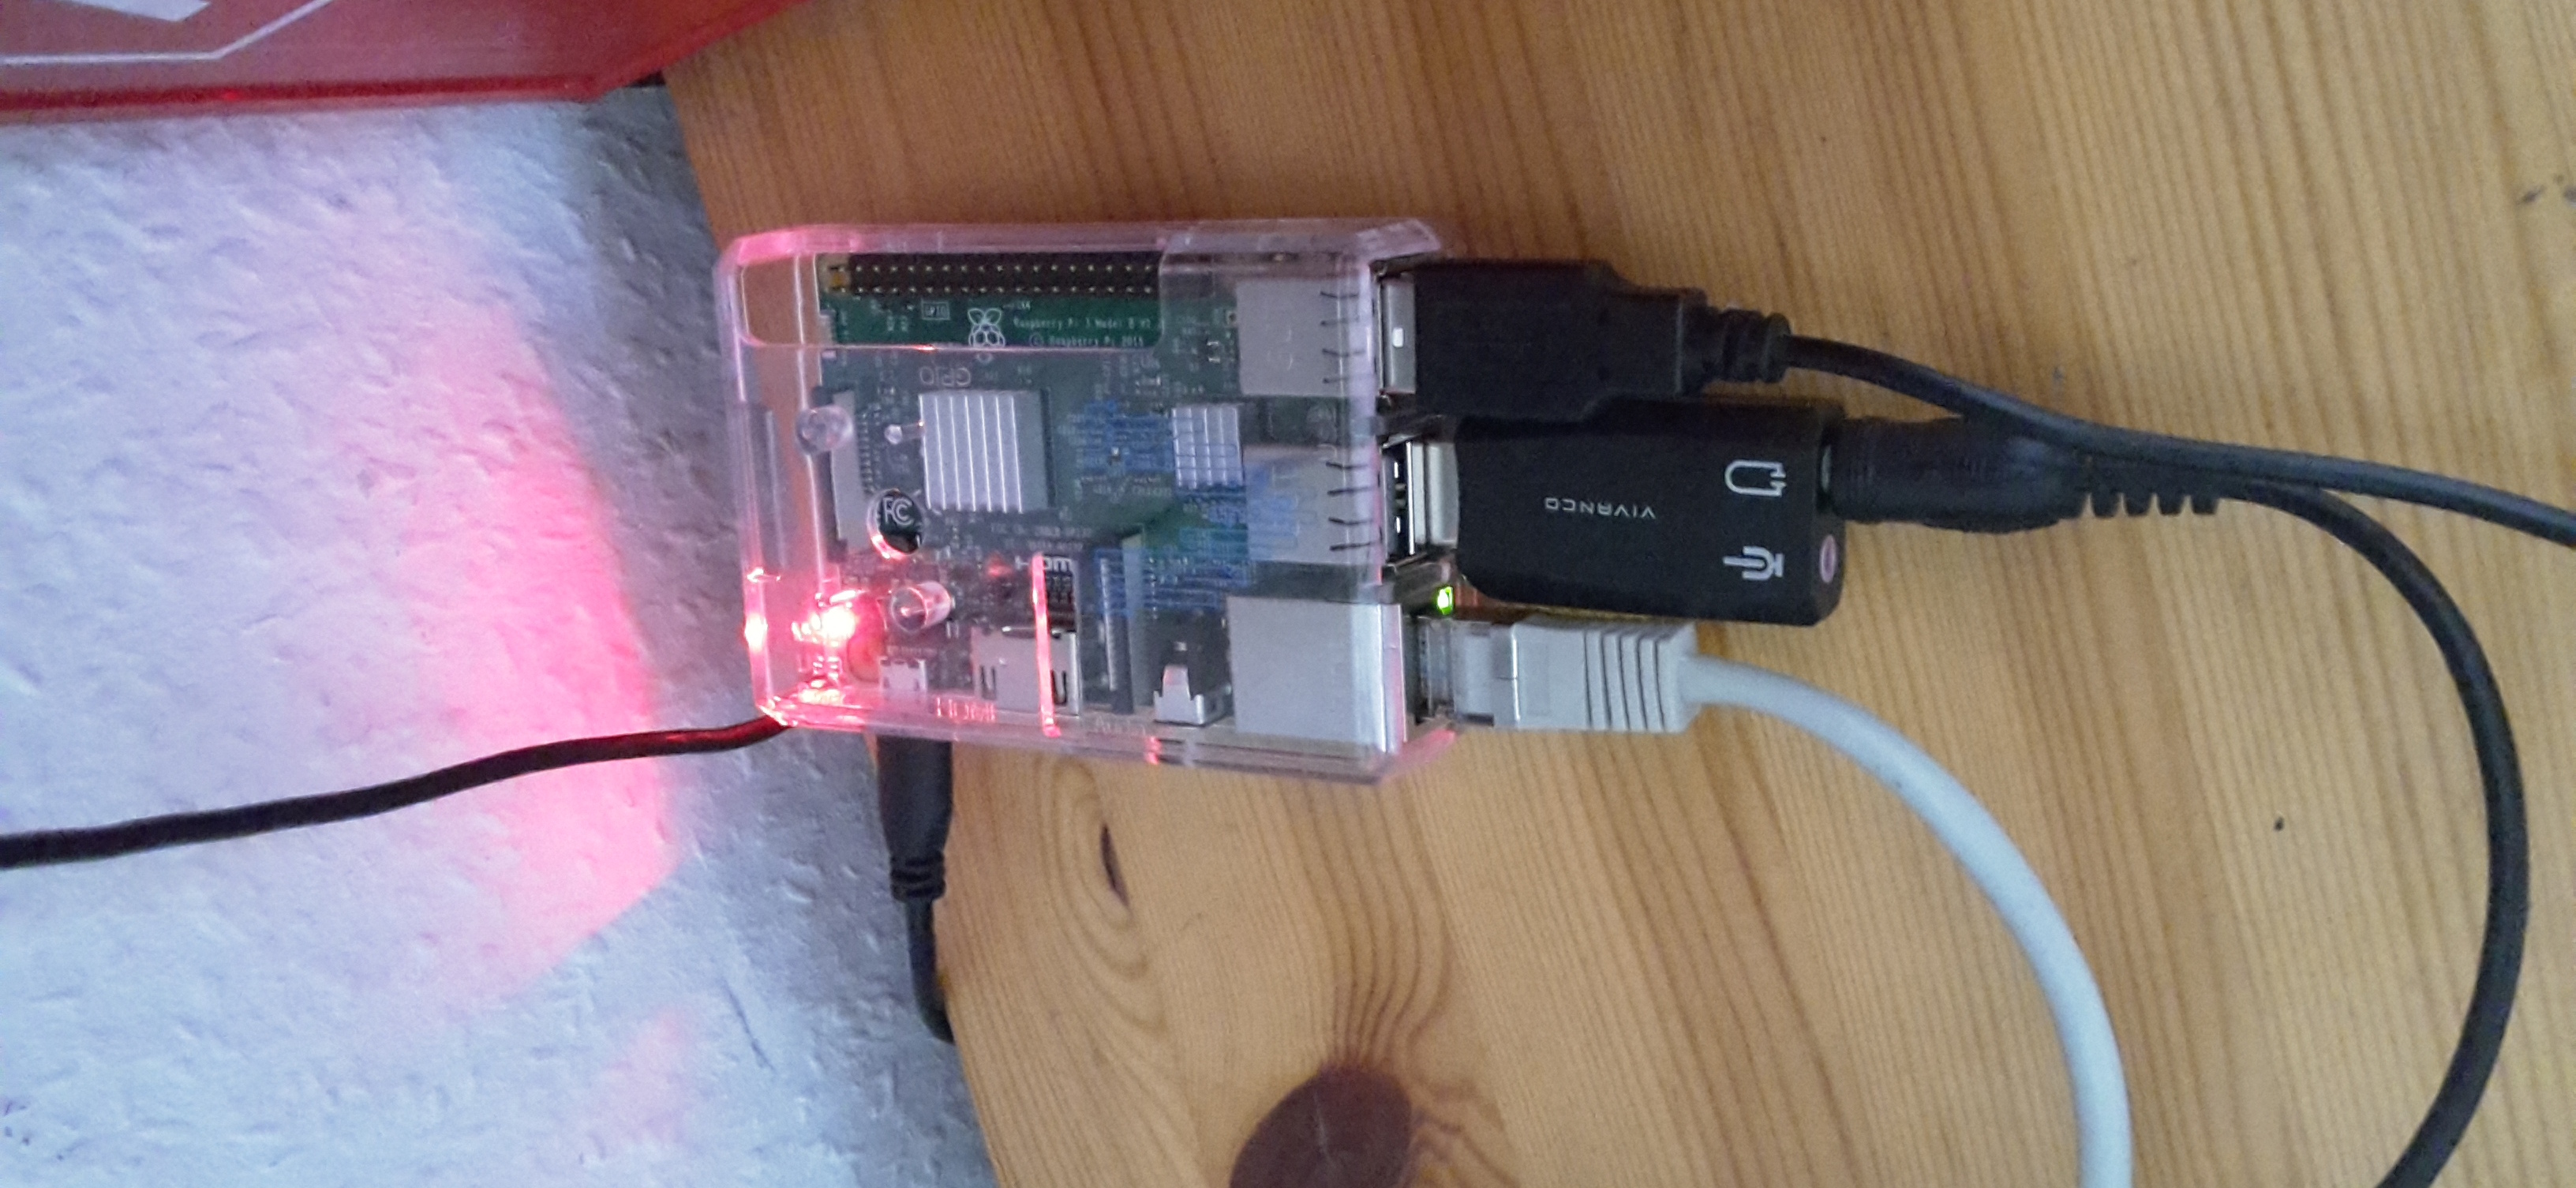
Also the sound is not very nice from the Raspberry Pi’s headphone jack. You will notice quiet disturbing noises. To end this I simply bought a cheap external USB sound card which I plugged in, put the speaker in it and it worked out of the box. You can get one for 5 to 20 Euros, for example this one.
PICS
Thats all, have a niec day.